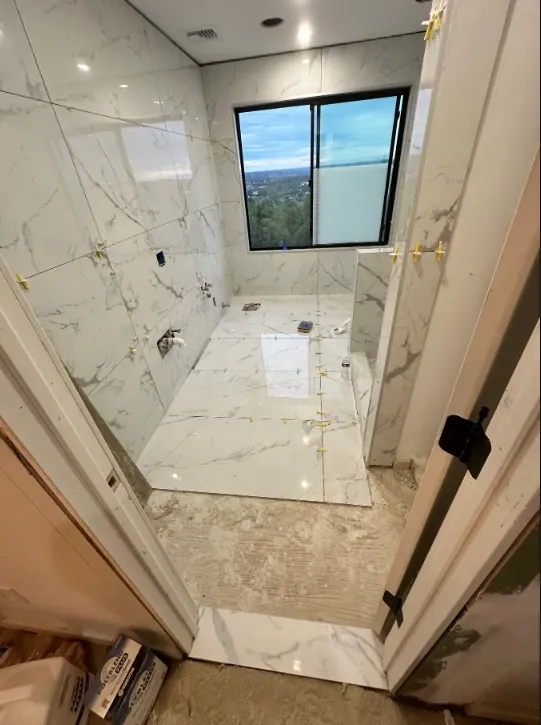
| Room | Bathroom |
|---|---|
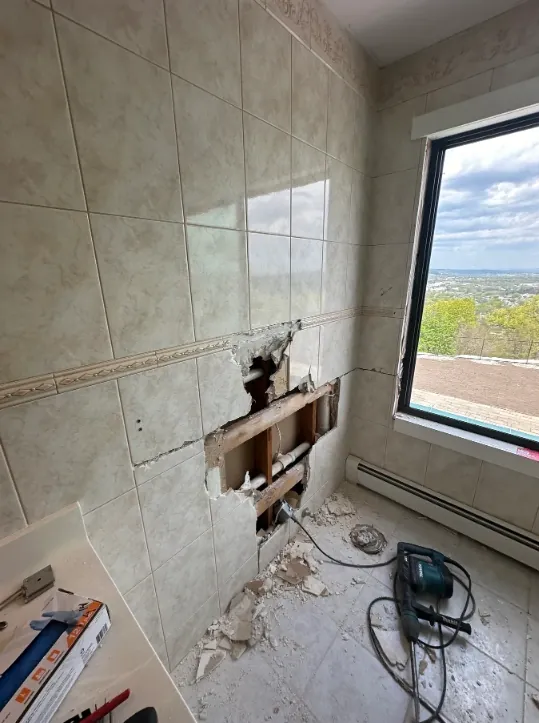
| Tile | Existing light beige wall tile followed by large white tile with gray veining |
| Pattern | Visible in the project photographs |
| Size | Not confirmed from the supplied photographs |
| Town | Chicago area |
About this job
Three photos taken at different stages of a bathroom renovation in a room with a window. The earlier shots show the existing light beige wall tile, and the later ones show large white tile with gray veining.
We don’t have dates for the stages, the tile size, or the town; the record says Chicago area. Having the old tile and the new in one set shows how much the room changed.
- 01
Measured and planned
We check the room’s dimensions and mark layout lines before any tile is set.
- 02
Prepared and waterproofed
Prep depends on the substrate, with waterproofing where the area gets wet.
- 03
Set
Tile goes down to the layout lines, with joints and cuts kept even.
- 04
Grouted and sealed
Grout and any sealer are chosen to suit the tile and how it will be cleaned.
- 05
Walked through with the owner
We go over the finished surface with the owner.
Tell us about the room
Share the surface, the room and what you are considering.
(872) 217-9211[email protected]